27Feb/11

Ring engraving

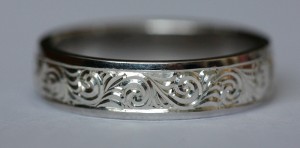
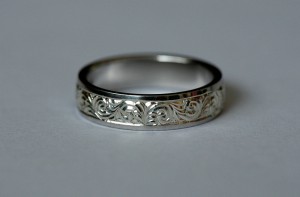
This had to happen sooner or later – engrave some jewelry. It’s a first try with a new technique, so I started out cheaply – sterling silver ring done in lumenesque style. Basically a modified bright cut for jewelry. Very bright and shiny indeed.

Engraving was quite a challenge, as there are two radii to follow with a graver (ring itself and the curved surface) and I have no muscle memory for this yet. Cuts are made with highly polished graver to make the cut surfaces mirror-like. Surprisingly, it came out quite all right.

Here’s the final result.

Engraved ring

Ring engraving close-up

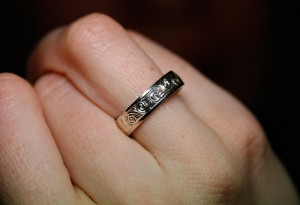
Ring on a finger

Few more practices, then I can make one to rule them all.

This one is currently on sale, contact me for a price.

13Feb/11

Engraved STI Trojan

About two months ago I started my first gun engraving project – STI Trojan. Today finally this saga has come to a successful finish. Here’s the final result:
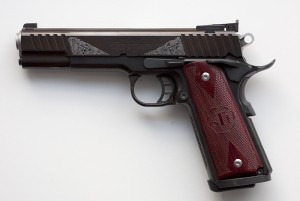
Engraved STI Trojan
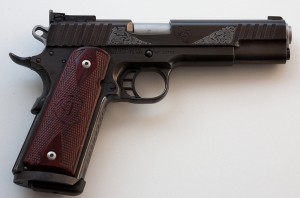
STI Trojan – right side

The main reason it took so long to finish this project was the problem with hot bluing. At first I used my home-brew bluing salt, which worked out rather well the first time. I got really nice deep blue-black finish and was quite happy about it. But as I was lightening up the engraving with phosphoric acid, we call the process ‘French grey’, some of the acid accidentally spilled to other parts of the slide and messed it up. So I had to remove all the bluing and redo everything again. Long story short – I got the bluing right on the fourth try, after buying a commercial salt from Germany and learning severals lessons from my silly mistakes.

Here’s a little walk-through of the whole project.

First of all the original blue has to be removed and parts refinished, so they are worthy of receiving a good engraving. Here’s the slide ready to go, after 4 hours with sandpaper and sticks:
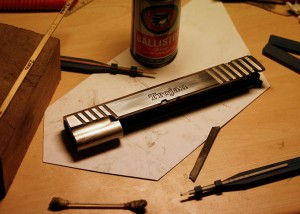
Trojan slide in white

The design is transferred to the slide and ready to be engraved:
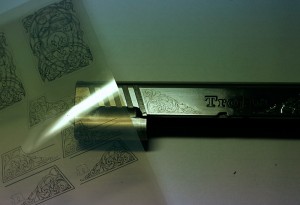
Design transfer

Shading in process:
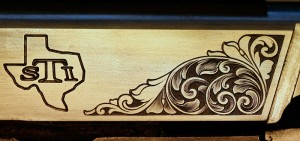
Shading the engraving

Engraving is finished, but still in the white. Time spent so far – about 20 hours:
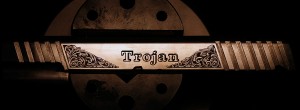
Engraving finished

Now comes the bluing process. First and foremost, the metal to be blued has to be really-really clean. Every drop of oil and fingerprint will leave ugly spot on the metal and we don’t want that. Hot bluing is done in a salt at temperature 150-180C. The solution is alkali, so if it gets on your skin at that temperature, you’ll have an interesting experience. In a bad way.
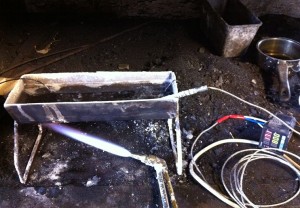
Hot bluing

Next up – French gray. The area to be grayed has to be masked off, the cheapest fingernail polish works well. Applying mild phosphoric acid to the area will remove the blue and makes it gray. Black background and gray engraving looks rather good and the contrast helps a lot for the visibility.
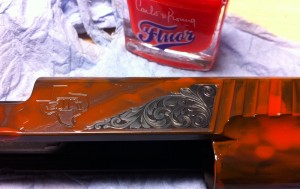
Mask for french gray

Finished.
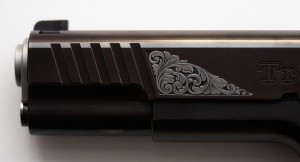
Engraving close-up
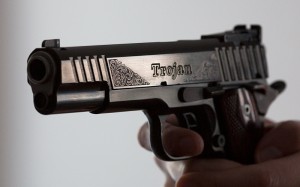
Trojan side view
23Nov/10

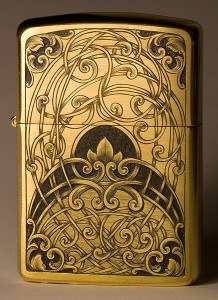
Zippo with experimental design

Every time I start a new project, which doesn’t have too many constraints design-wise I’ll try to experiment with it. This Zippo was just like that, client wanted scrollwork and gave me a budget. So I tried something new and here is the result:

engraved zippo

Hand engraved Zippo

I spent twice as much time as budget allowed, but I think the result came out allright.

23Aug/10

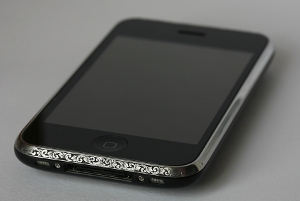
Engraved iPhone

Engraving my iPhone is something I’ve wanted to do for quite some time now, the plain metal border was so tempting. I’ve searched the net, but haven’t yet found any hand engraved iPhones. There are a lot of laser engraved ones and cases, but to me laser engraving is not really a true engraving. So someone must start with the handmade.

For starters I engraved the bottom part of it, so when I did screw up, it wouldn’t be too noticeable. The metal seems to be some kind of stainless steel and a very tough one too. I broke many-many graver tips during the process and at least 1/4th of the time was spent on re-sharpening the gravers.

Scroll design is very basic and I drew it straight on the phone using china white and pencil. The width of the metal border is 3mm.

This section took 8 hours to complete. I’m not yet sure if I’m going to engrave the top and/or sides too. Maybe sculpting and/or some gold inlay?

Engraved iPhone

Finally I have something to show when trying to explain what kind of engraving I actually do.

24Jul/10

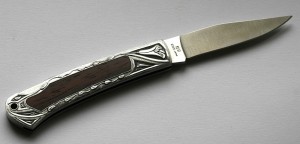
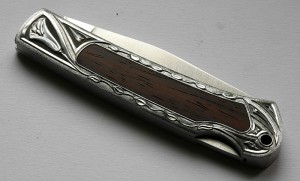
Sculpted knife

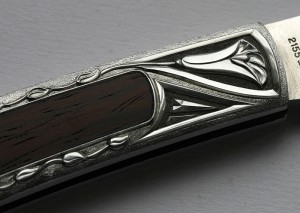
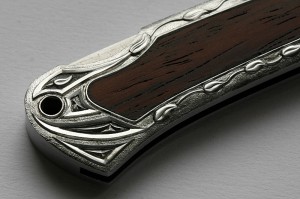
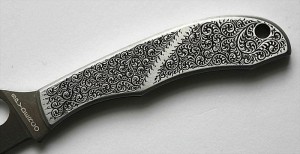
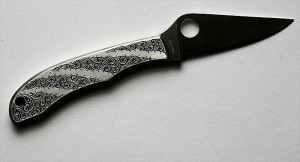
Quite a while ago I started one knife engraving project in sculpting. As it happened, it took longer than expected and now I finished the first side of the knife. This project is mainly a learning experiment, both the technique and style are rather experimental. This one side took 51 hours to complete.

Total length of the knife is 16cm, handle is 8.8cm.

Engraved knife full length

Engraved folder

Engraving close-up

Engraving close-up

27Jun/10

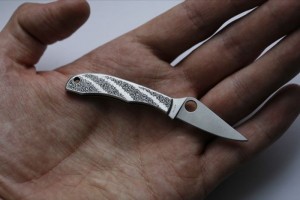
Engraved Spyderco with English scroll

English scroll is a very old and traditional style, that has appealed to be for quite a while. Until now I haven’d had a chance to learn how it’s done, but that all changed at Engrave-In, where Simon Lytton was kind enough to instruct me a little. The style is structurally quite simple and fast to cut, there is no background to remove.

This tiny Spyderco Honeybee was a gift for a friend and here I tried to apply all that I remembered from that theoretical instruction. Time taken for both sides was 7 hr 15 min.

Hand engraved Spyderco Honeybee

engraved spyderco

Engraved Spyderco

engraved spyderco 137P

Engraved Spyderco knife

18Feb/10

Amplifier knobs

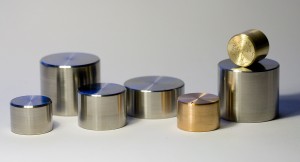
One of my (too many) hobbies is also fiddling with electronics and audio stuff. I built a gamma2 DAC kit from AMB a while ago and soon I’m going to build tube headphone amp too. In the mean time I got an idea to make amplifier knobs, because there didn’t seem to be very many options to choose from. Mostly factory made aluminium knobs. What if I wanted titanium, stainless or bronze knobs? Didn’t find them anywhere.

So I made some myself.

Amplifier knobs

Here is short video of how the engraving of that map knob was like. Source for engraving was some old simplified version of Earth’s map.